October 8, 2024
Create a project
Select a Template
Once you sign up on the Platform, you'll be taken to your projects page. Here, you can create one or more websites depending on your subscription plan.
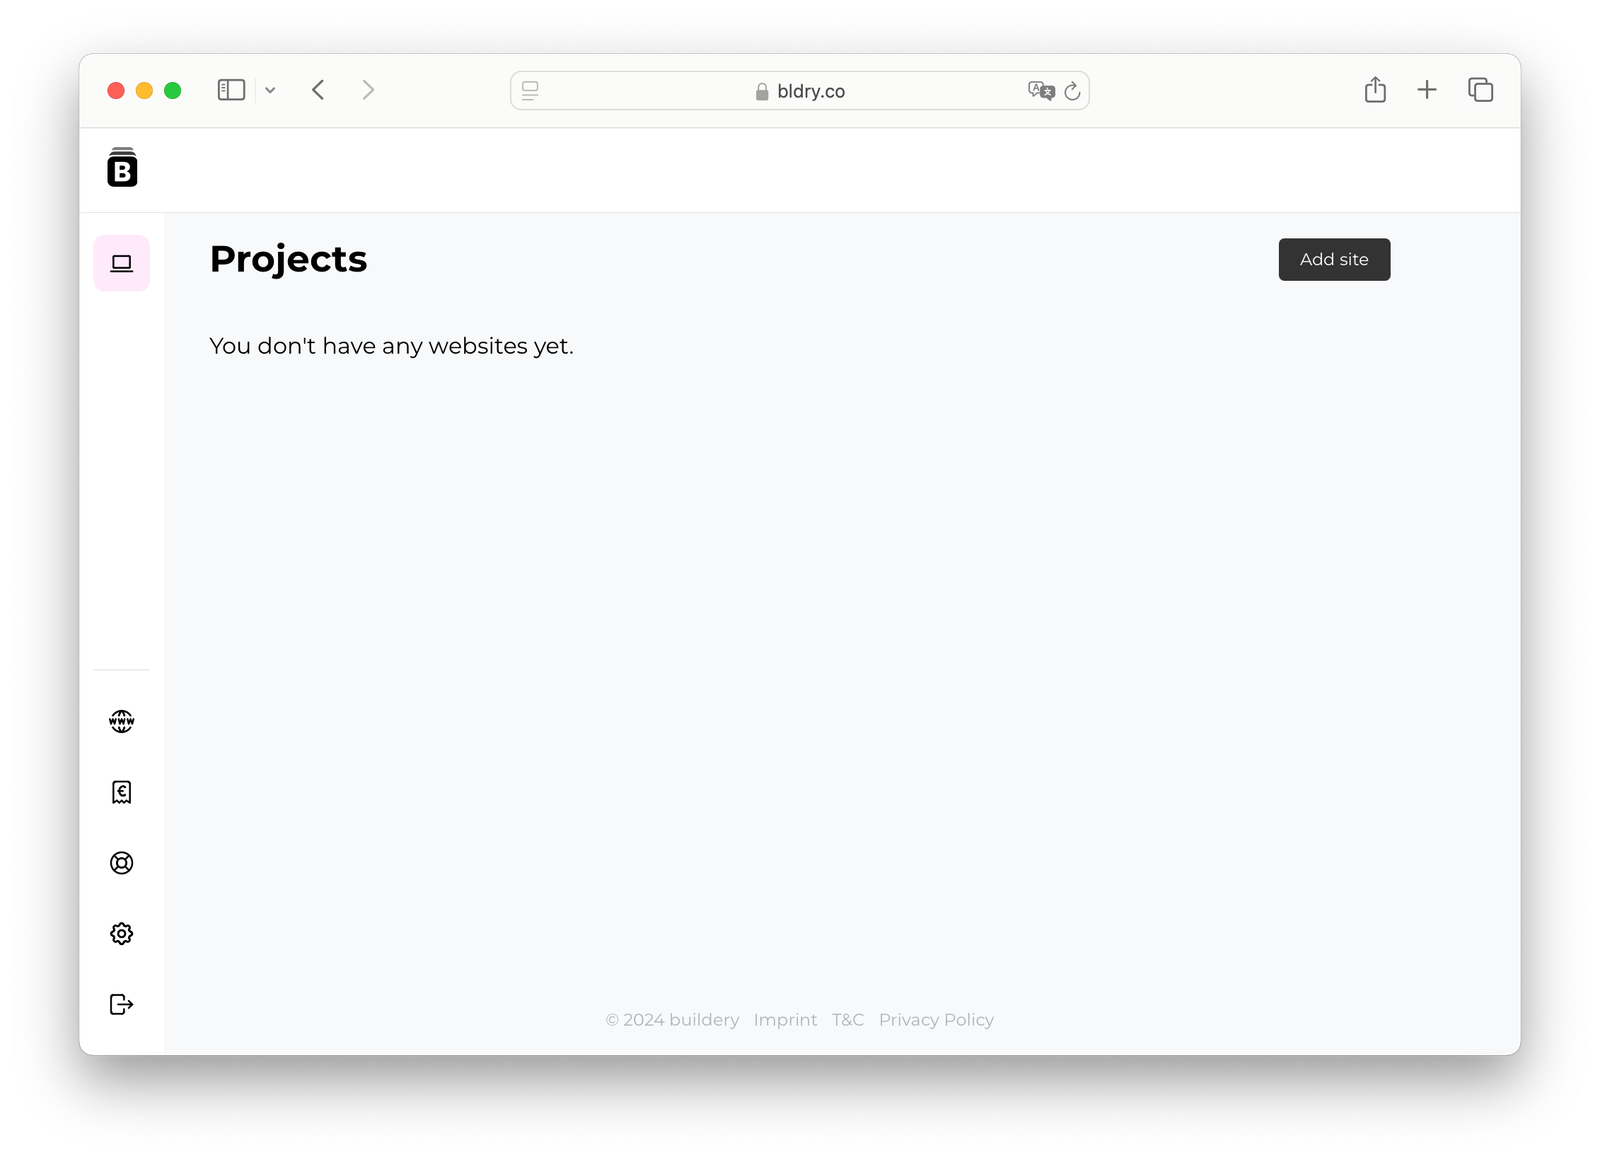
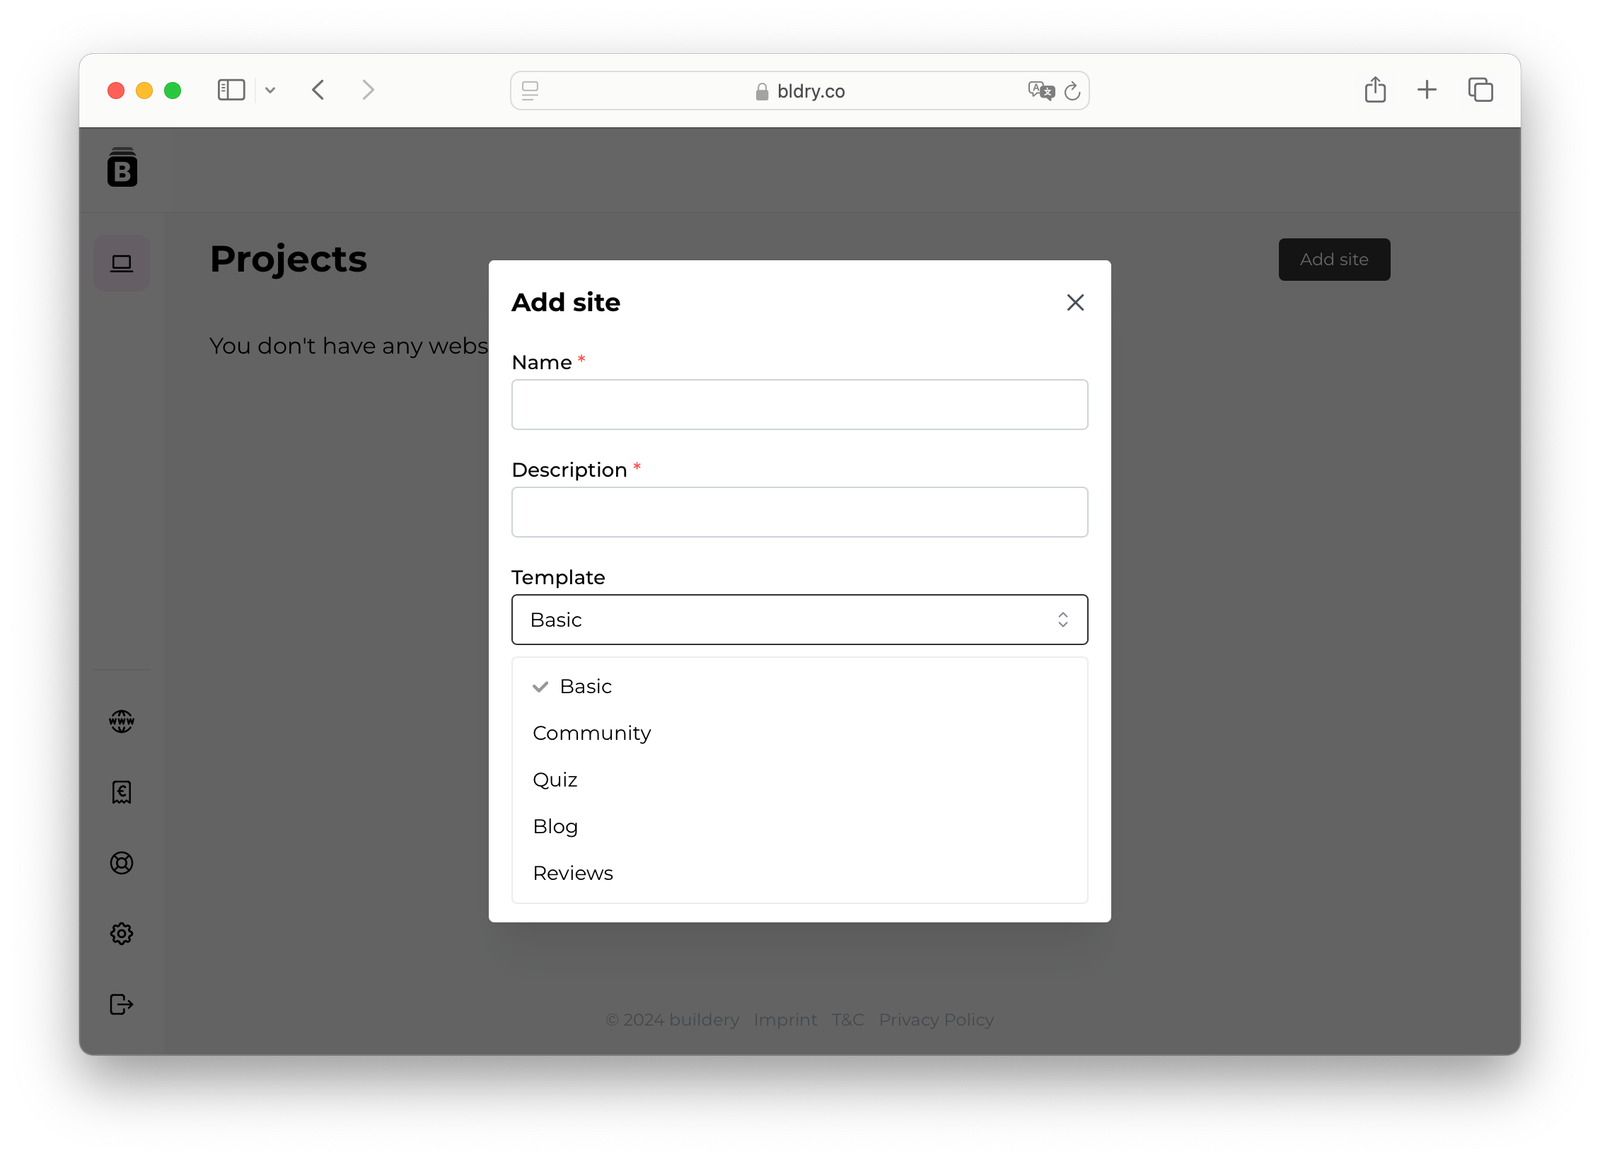
When creating a site, you'll be prompted to select a template based on how you intend to use the site:
As an aggregator → Community
As a blog,
As a survey form,
As a feedback collection platform.
If you have your own format, select the Basic template.
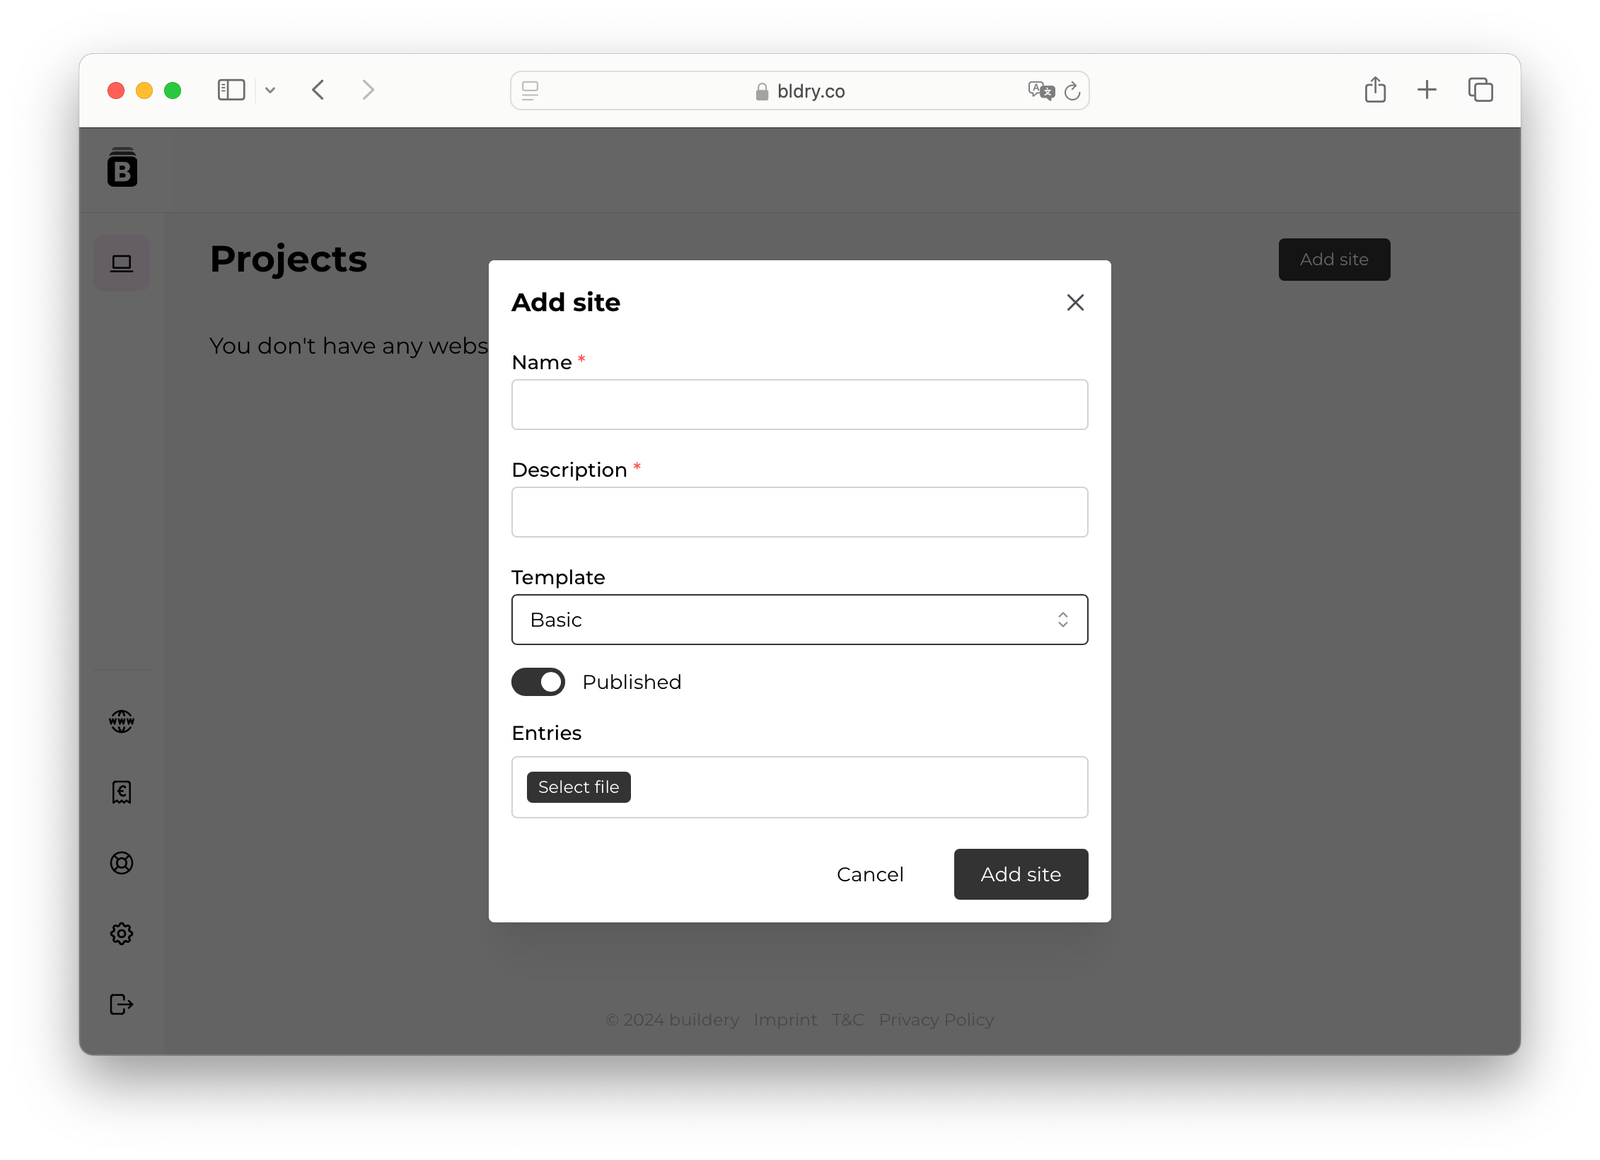
Upload a Database
You can upload an existing database, and it will automatically be converted for display, or build a site from scratch and collect the necessary data for demonstration.
Important: The data table must have only one row of headers, horizontally. The entries should also be arranged horizontally. Below is an example of such a table.
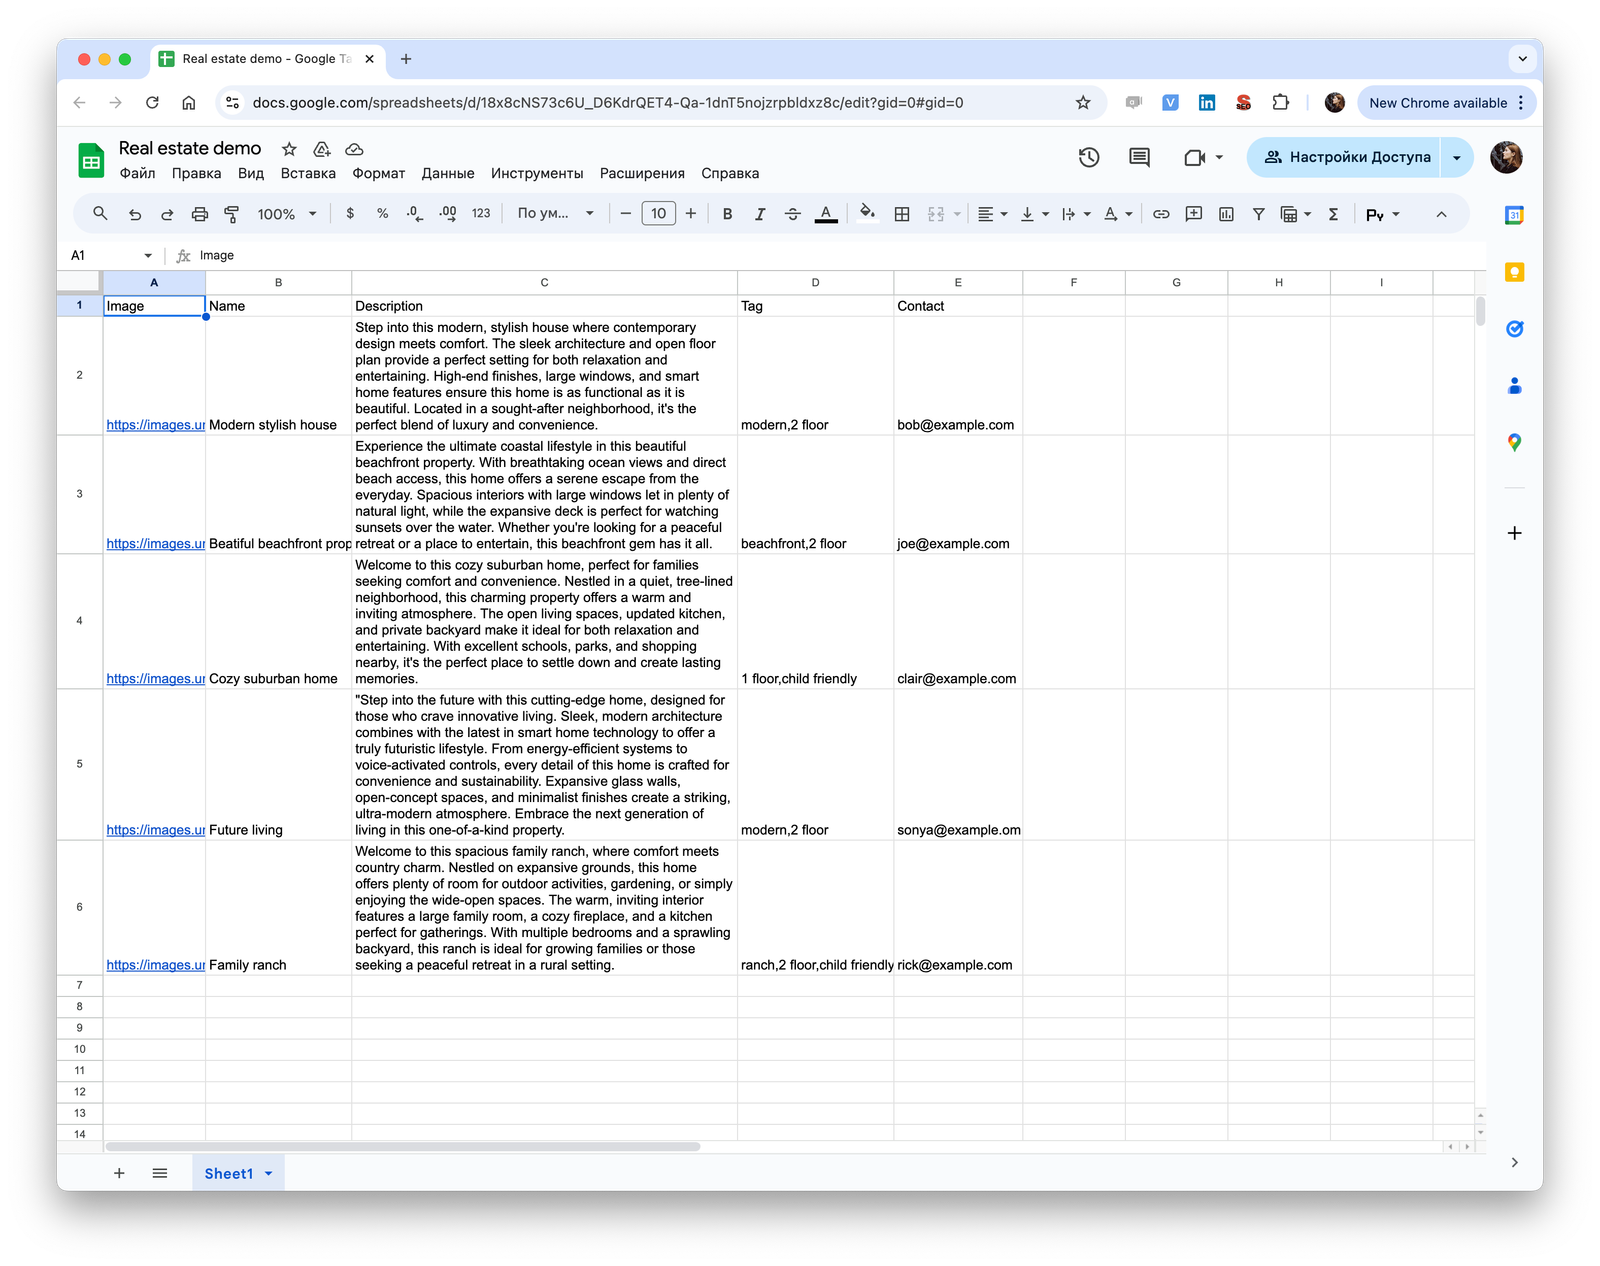
Merged fields cannot be read. We can create such visualizations for you only with a customized (personalized) plan. You can upload an existing database, and it will automatically be converted for display, or build a site from scratch and collect the necessary data for demonstration.
Important: Once you create a site, you won’t be able to upload a database into it. You will either need to configure the fields and add records to them or create a new site (both options are available only with the Pro plan).
Dashboard
Once you create a Project, you'll be taken to the Dashboard of the new site. It consists of three sections:
Data List → DB Entries,
Website Pages,
and Field Configuration → DB settings.
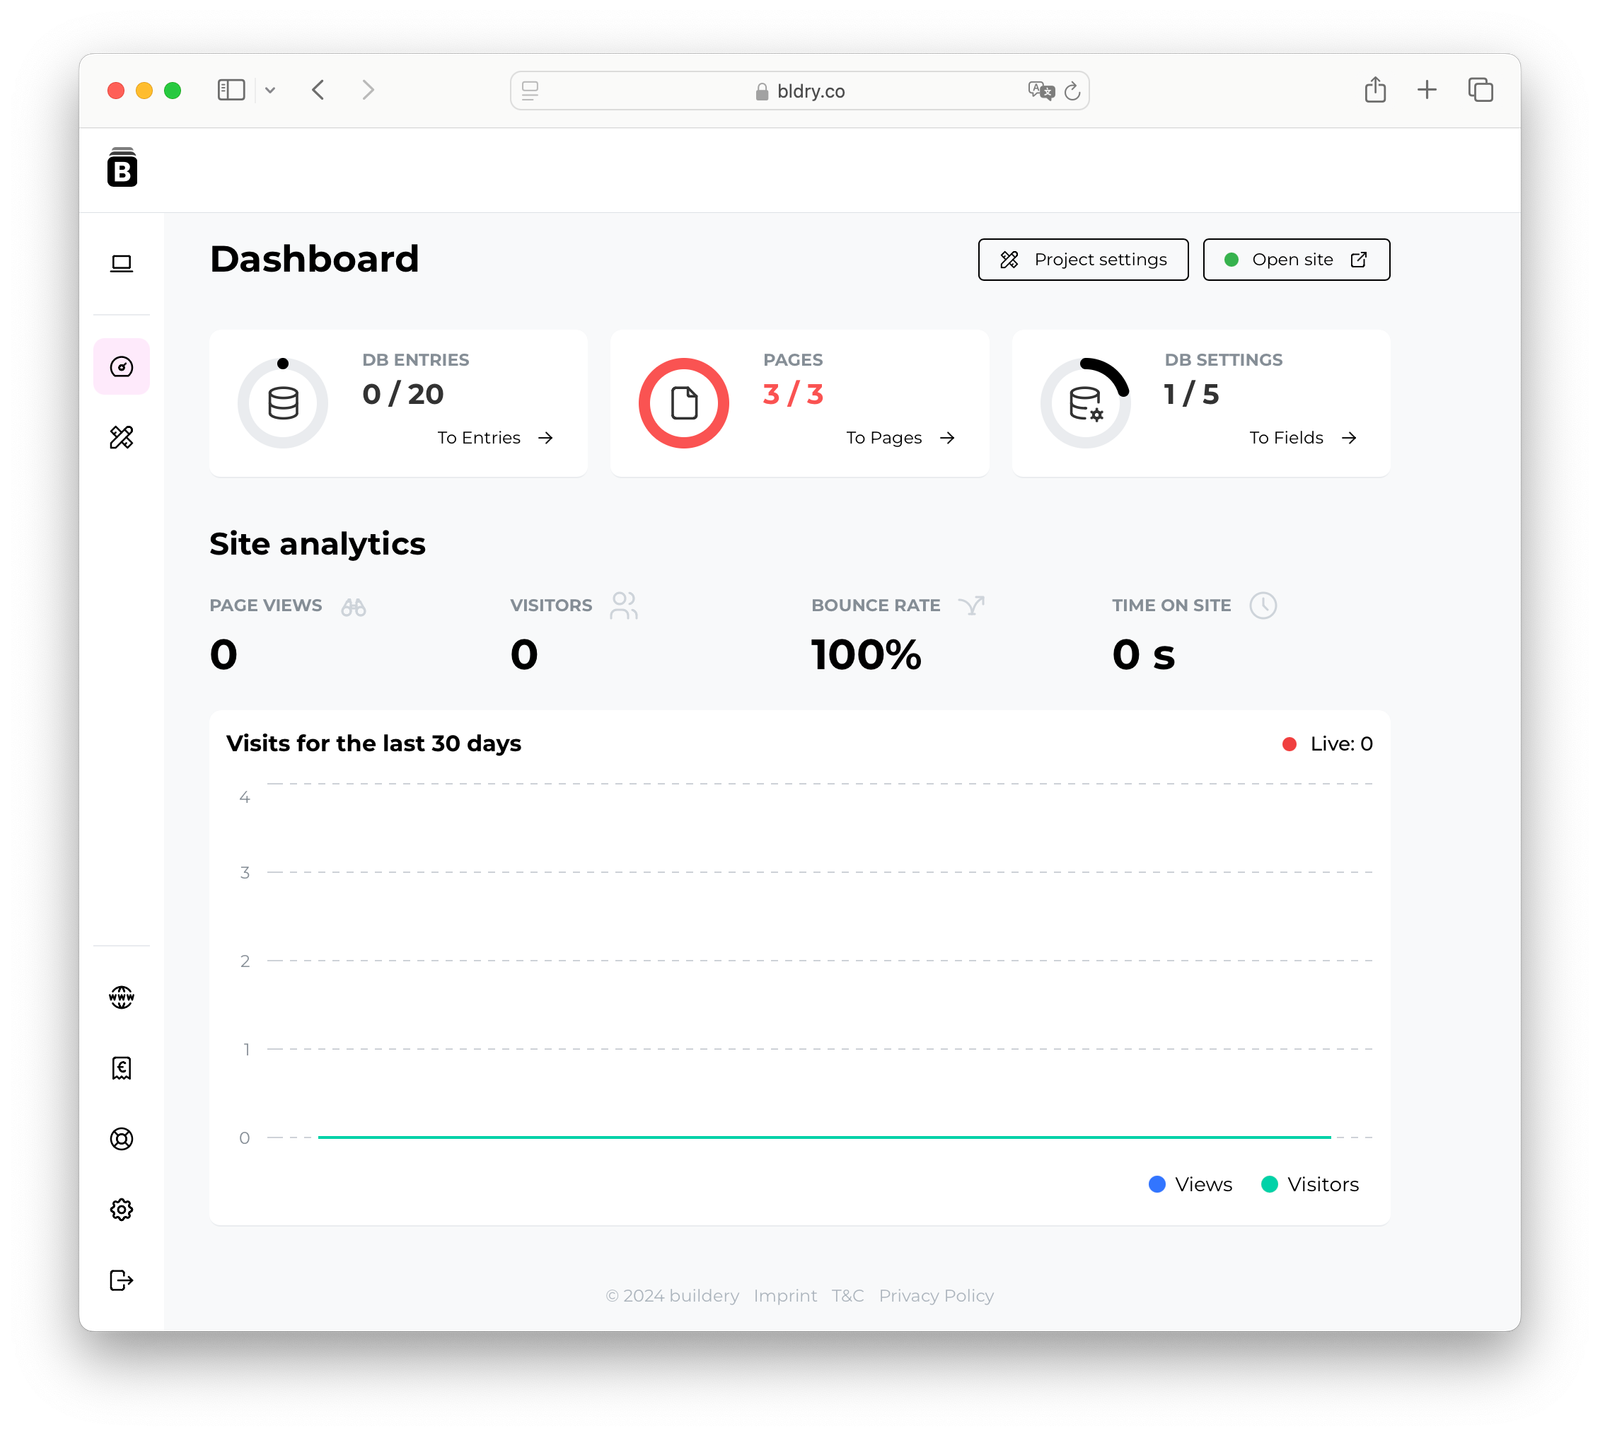
Depending on your project idea, you can start with one of the sections.
In the DB Entries, you'll find the data cards you plan to display on your aggregator. If you initially uploaded your database, it will appear in this section.
In the Pages section, you’ll find three preset pages: the main page, the page with the design of the individual card (details), and the form page.
In the DB Settings section, you can customize the visual style of the cards and form.